CV Tutorial
This article will show how you can use CV with your MOD Device.
Although only MOD Duo X has CV input and output, you are still able to use CV signals inside your pedalboard with any Mod device.
Contents
Getting Started
Choosing input mode (Duo X only)
There are two ways in which you can use the CV/EXP input:
- CV: Use it as a CV input. Duo X CV input/output is unipolar positive, which means it reads/sends signals from 0 to 10V.
- Expression pedal: Use it with an analog Expression pedal.
Note: When using an analog expression pedal, you might also have to adjust the "Expression pedal mode".
These settings can be found under "System > Inputs" in the Device Settings menu.
Inputs and outputs on the UI
SCREENSHOT OF THE DASHBOARD SHOWING INPUTS, OUTPUTS AND CABLES (with labels on it)
In the UI, CV connections are represented by orange cables.
ON Duo X, you will see three extra inputs and two extra outputs in your pedalboard.
The top two CV inputs are the two CV inputs available when you plug in a TRS cable with CV signals.
The bottom CV input is actually the Expression Pedal input.
Which of the input ports are available will be defined by your Input settings
As any other connection in your pedalboard, CV connections can be split and merged any way you like.
Basic usage
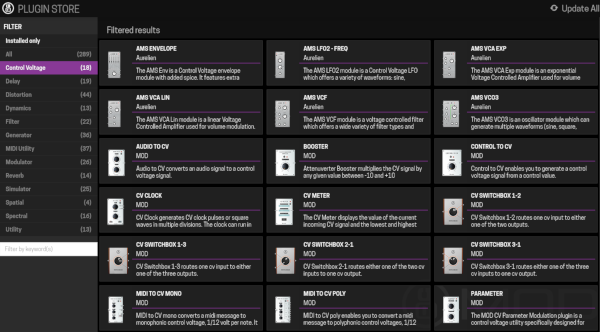
There are many CV tools available in the Plugin Store to use. There are LFOs, Envelopes, VCAs, tools such as switchers, audio and MIDI to CV converters, and many more.
The possibilities are endless. Here are some examples of CV Basic usage:
Example 1 - using an external CV controller (maybe simulating receiving a signal from a CV keyboard?)
Example 2 - using only CV internally to produce some sound
Example 3 (optional - something more unusual)
Using CV signals to control any parameter on your pedalboard
We can also use CV signals internally in our pedalboards to control any parameter of any plugin!
Let's see how to do this.
1. Enable the CV port you want to use
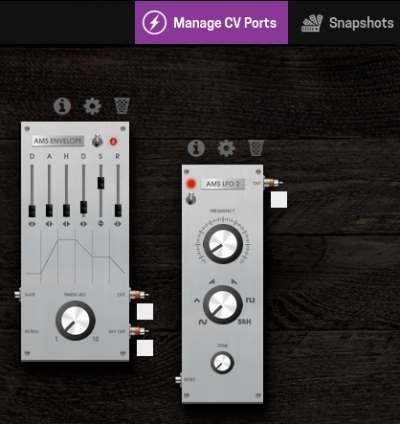
Click the "Manage CV Ports" button at the top of the screen: ![]()
When this button is active, you will notice that a white checkbox will appear by each CV output of all CV plugins:
When you click any of these checkboxes, you are enabling this output to be used as a signal source to control other plugins' parameters.
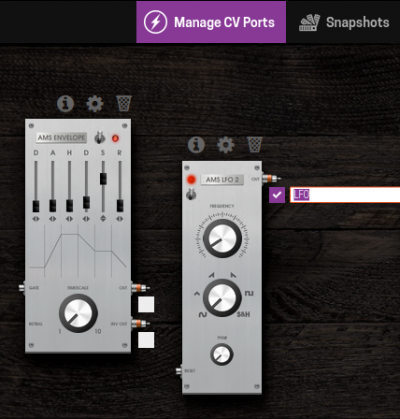
For this example, let's enable the LFO output:
Notice that when you enable a port, you can assign a name to it. This will make it easier to find it later when using this port to control a parameter.
2. Assign
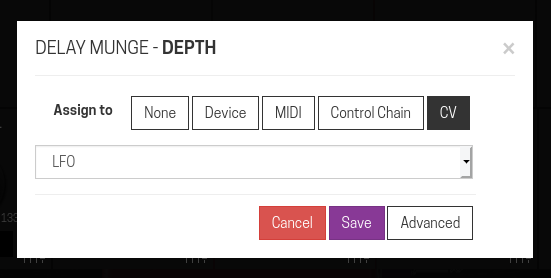
Now, let's use the wave signal generated by the LFO to control the Depth parameter of the INVADA Delay Munge.
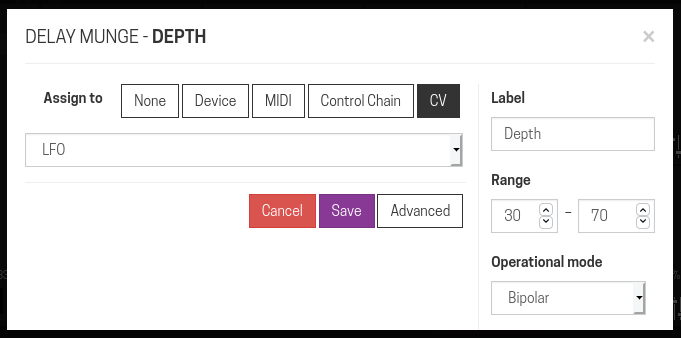
Open the plugin settings and click the "assign" button for the Depth. This is the same procedure you are already familiar with, used to assign parameters to external controllers.
Now in the "Assign" dialog, choose the "CV" tab. You will find all the ports you enabled in the list to choose from.
Note: Duo X users will also see physical inputs 1 and 2 as options to assign the inputs directly to this parameter.
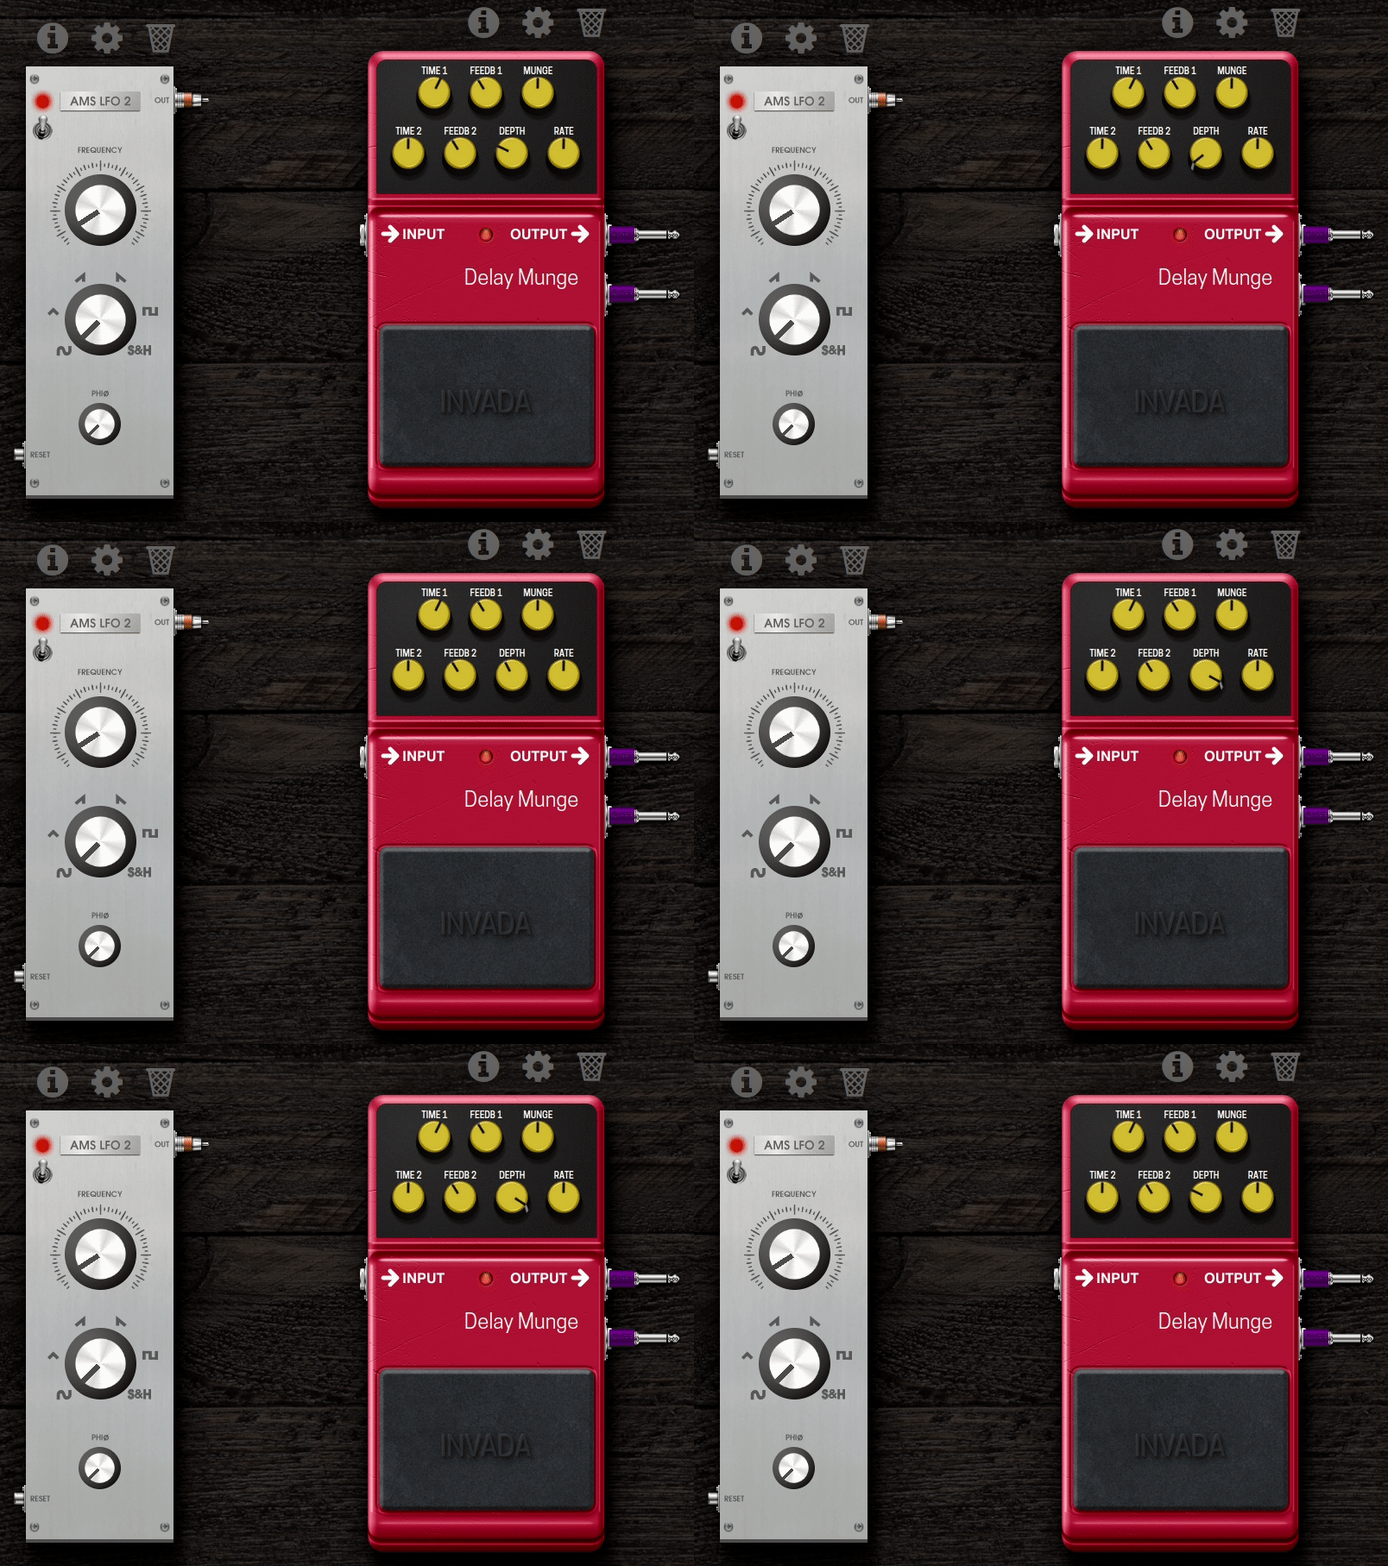
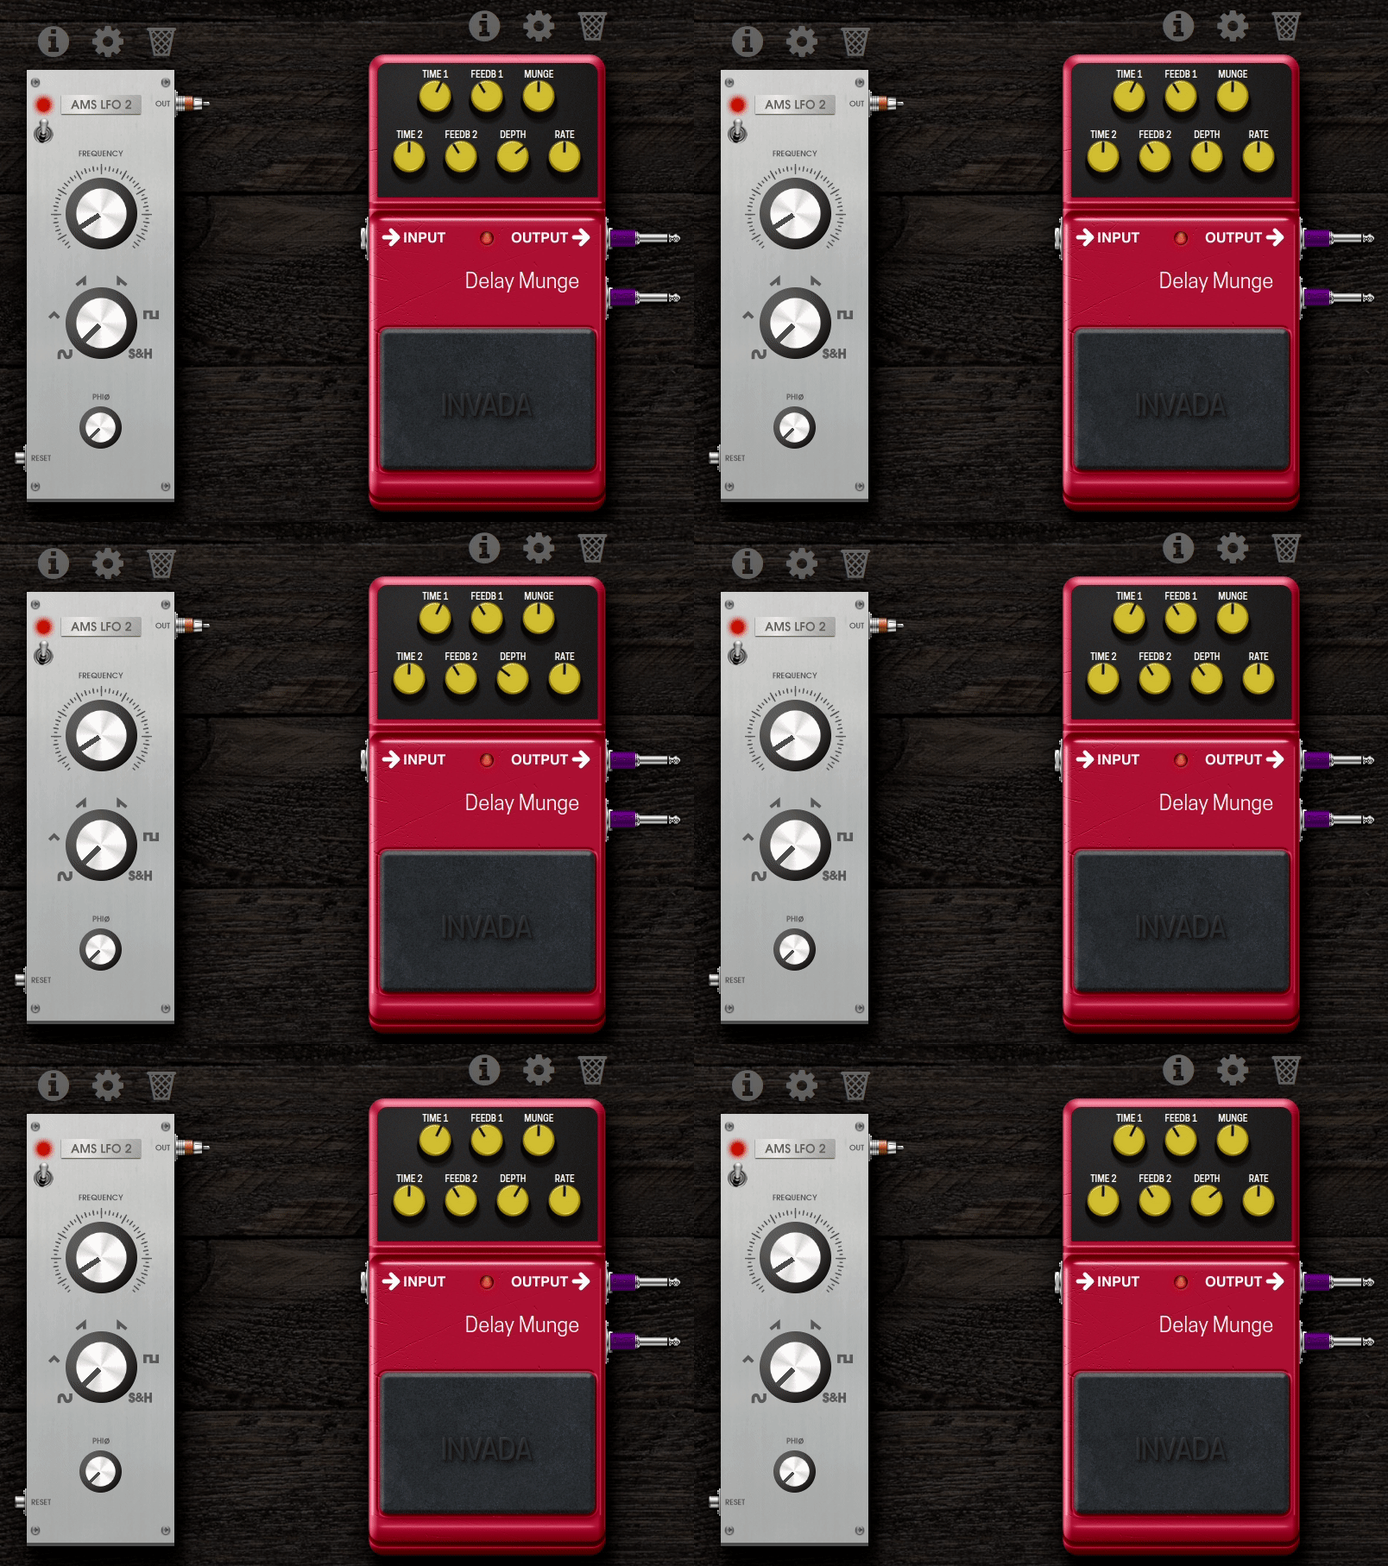
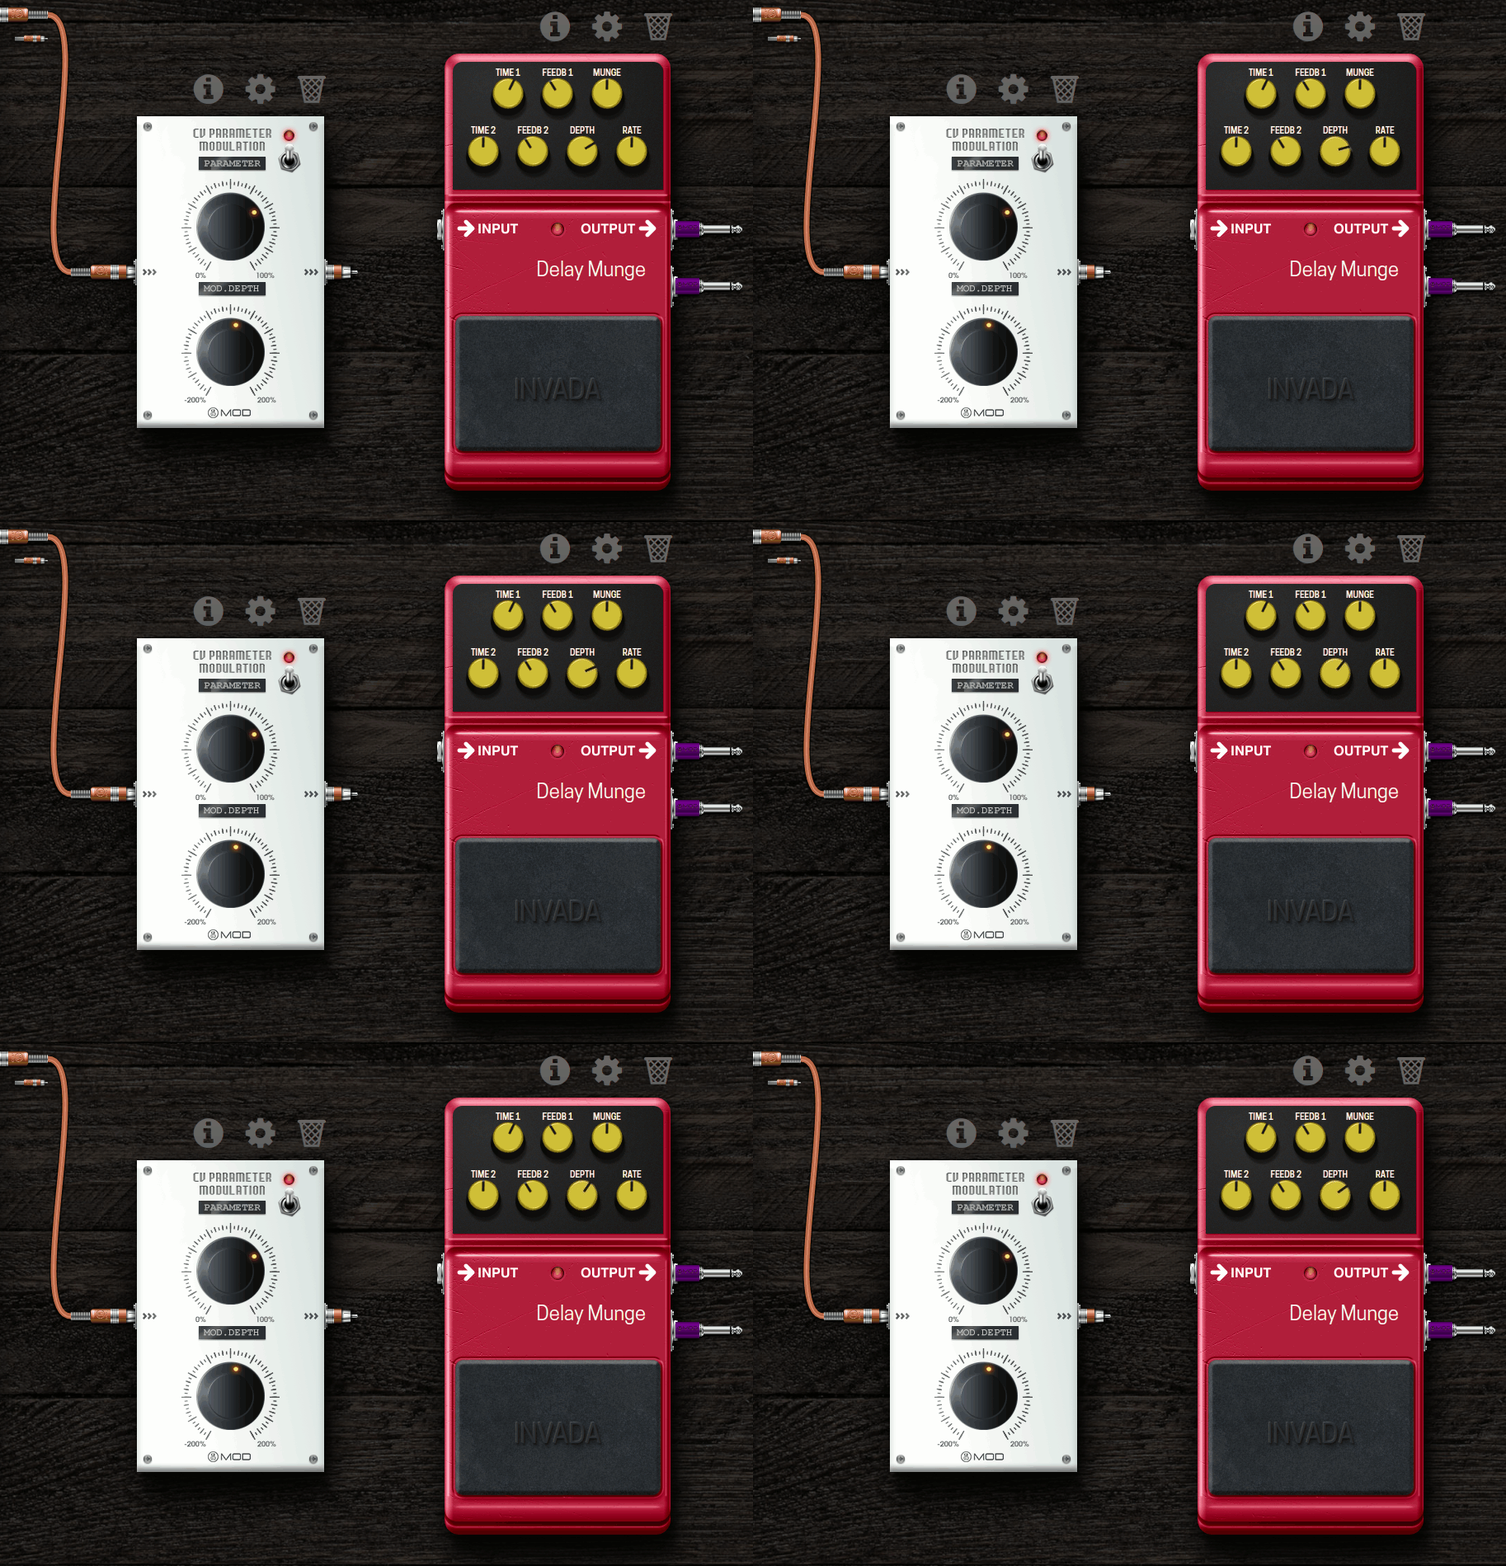
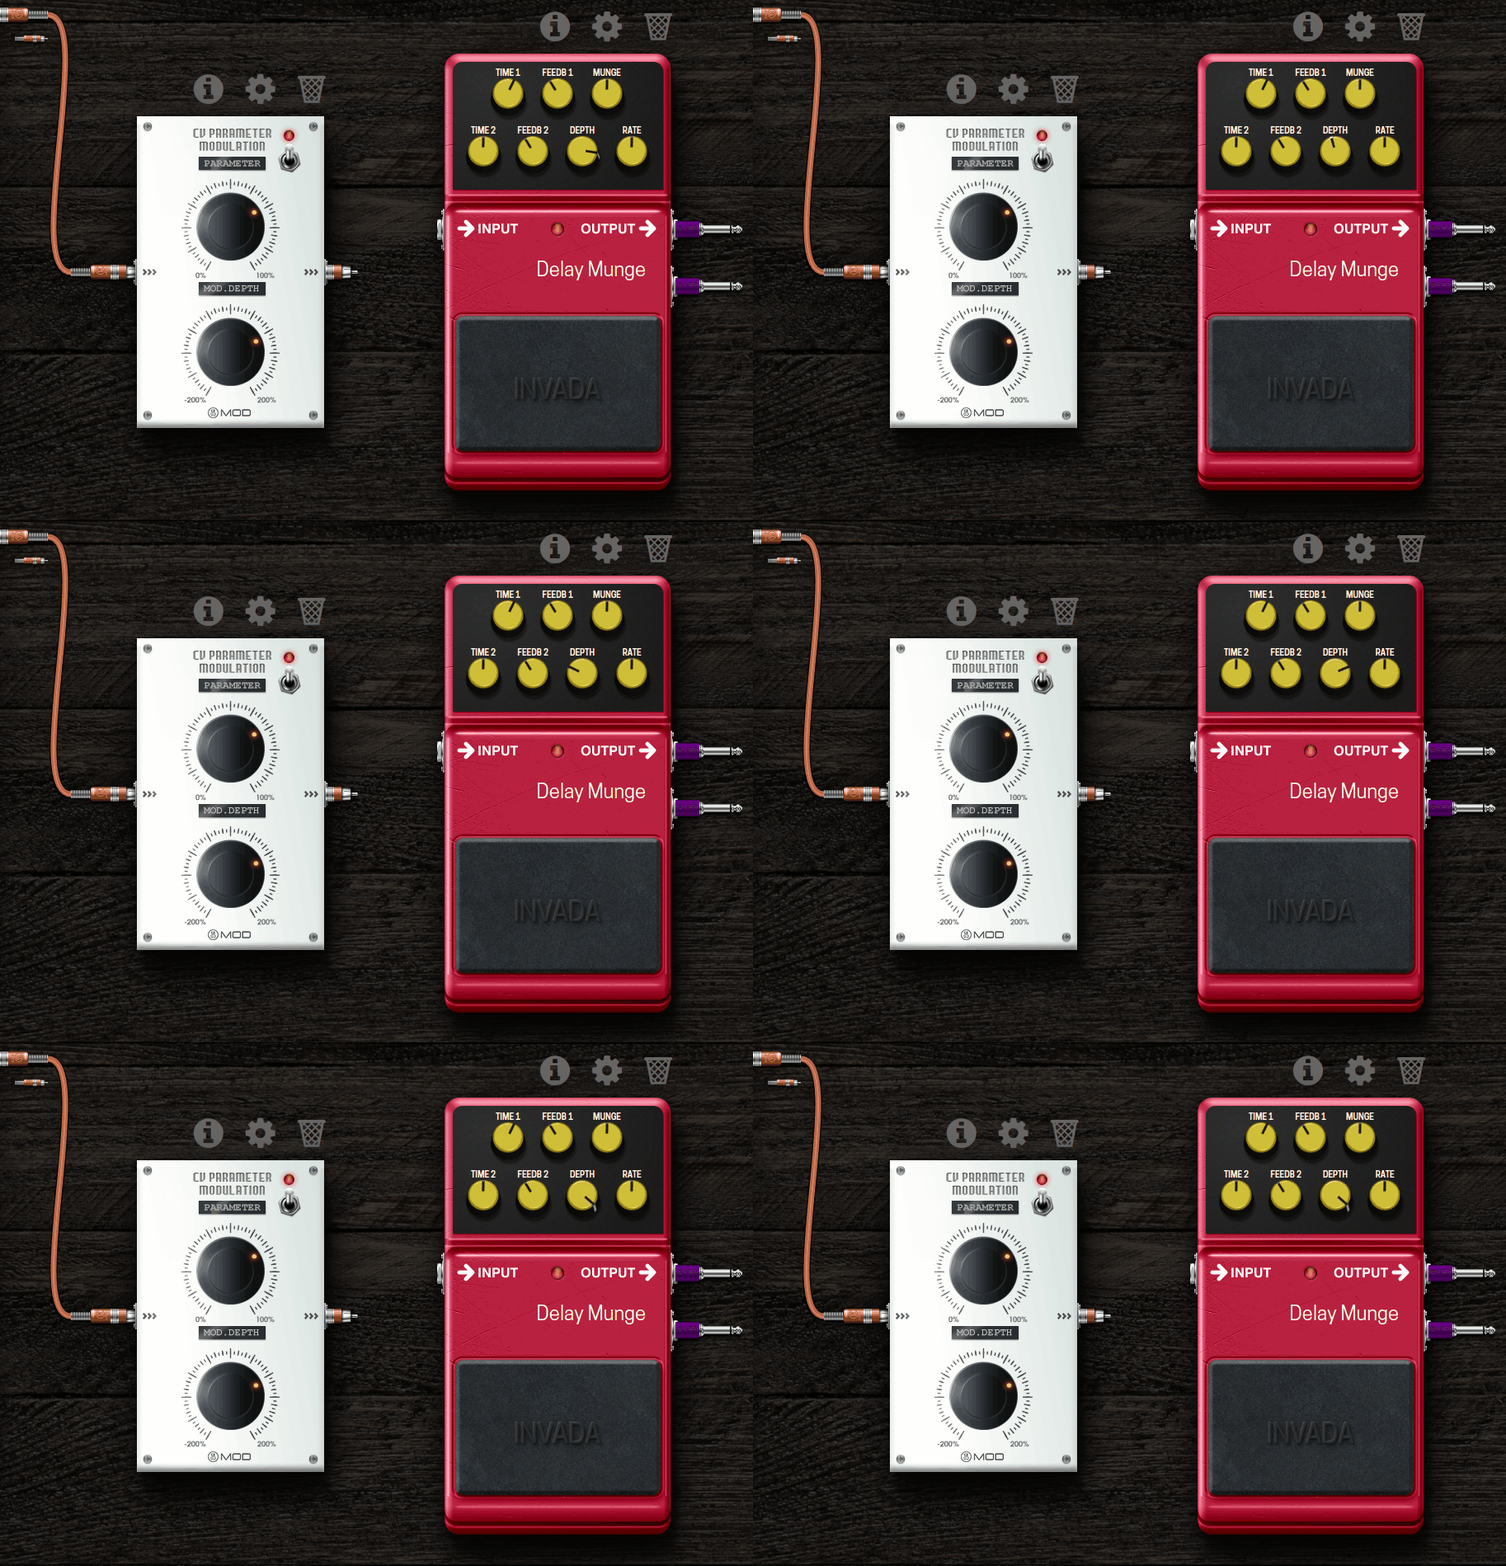
Now we can see the result. The Depth is oscillating following the signal generated by the LFO.
3. Advanced Settings
Back to the "Assign" dialog, if you click the Advanced button, you will see a couple of additional options to give you more control on this assignment.
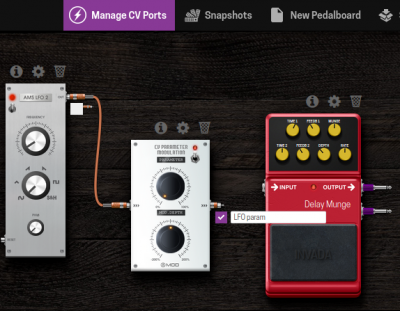
Using CV Parameter Modulator
