Difference between revisions of "Arduino Basic Tutorial"
Leogermani (talk | contribs) (creating page) |
Leogermani (talk | contribs) m |
||
| Line 1: | Line 1: | ||
| + | [[Category:Arduino Shield Tutorials]] | ||
| + | |||
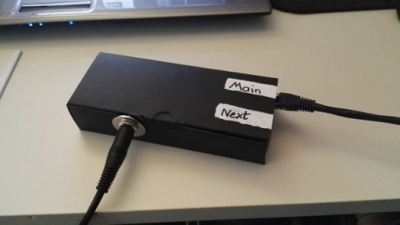
[[File:intro-1.jpg|thumb|400px|Analog expression pedal to Control Chain converter]]This tutorial will show you how to build a very basic Control Chain device with expression pedal inputs. | [[File:intro-1.jpg|thumb|400px|Analog expression pedal to Control Chain converter]]This tutorial will show you how to build a very basic Control Chain device with expression pedal inputs. | ||
Revision as of 23:27, 10 November 2018
This tutorial will show you how to build a very basic Control Chain device with expression pedal inputs.
This will allow you to use an expression pedal with a regular stereo TRS jack with your MOD Duo!
By doing this, you will get the basics of how to build an Control Chain device using the MOD Arduino Shield.
Contents
What do I need?
- One Arduino Uno or Due
- One Arduino Control Chain shield
- One stereo (TRS) jack for every expression pedal input that you want (Max: 4 (Uno), 8(Due))
- A soldering iron, some wire and some soldering tin
- (Optional) Something to put your final build in
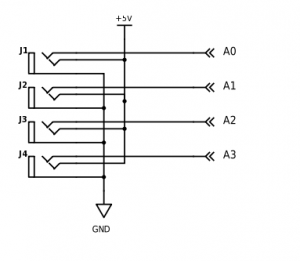
The schematic
Because the Arduino has very high impedance analog inputs, there is no need for any current limiting resistor. We can simply hook up the TRS jacks as follows: (Tip to 5V, ring to signal and sleeve to ground)*
(*) not all expression pedals are made equal, some manufacturers use a different mapping than the one described above. Another common mapping is: Tip to signal, ring to 5V, sleeve to ground. (For example on the Roland EV-5)
The code
The Arduino code is quite simple, it reads the ADC values using the analogRead() function, and stores it into a variable. The Control Chain library takes care of the rest.
The code is written in such a way that you can change the define at the top of the code to the amount of ports that you want, and not have to rewrite any code. Do you want 3 expression pedal ports?
#define amountOfPorts 3The maximum amount of ports for an Arduino Uno is 4. The Arduino Due can provide a maximum of 8 ports.
The build
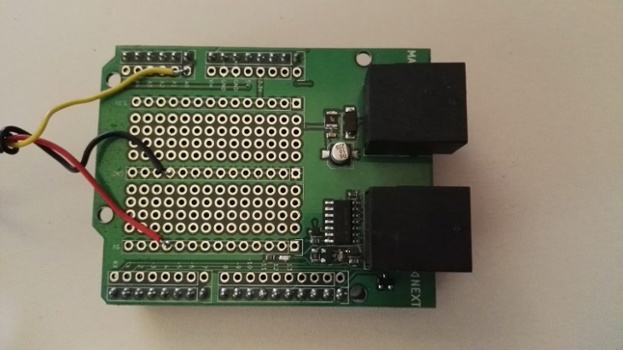
- Solder wires to your TRS jack inputs
- Twist the wires together
- Solder the sleeves to the ground strip on the CC shield
- Solder the tips to the 5v strip on the CC shield
- Solder the rings to the corresponding analog inputs on the CC shield
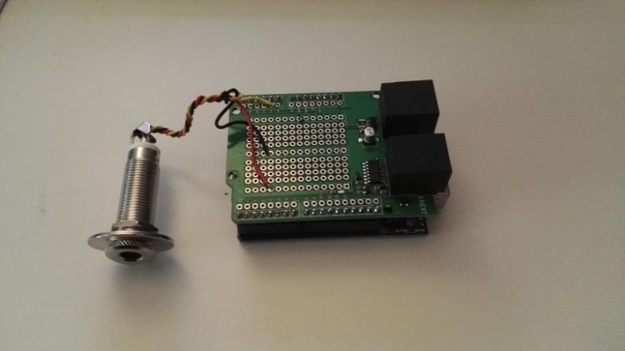
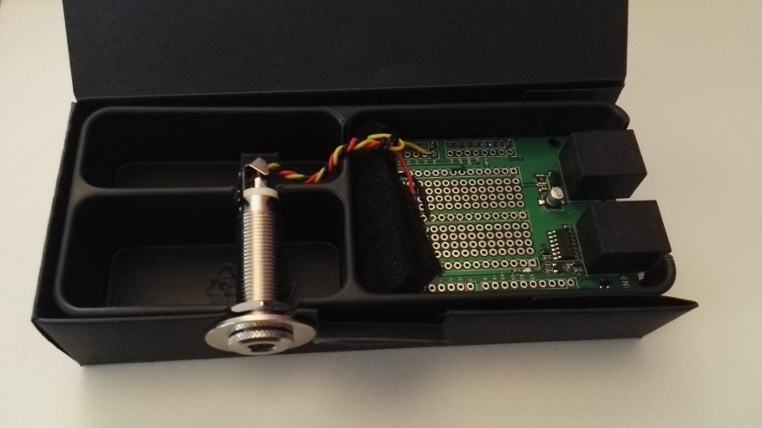
Attach the CC shield to the Arduino, now your device should look a little like this:
- Follow the instructions on our Github Page and install the dependencies
- Change the define in the code to the amount of ports connected
- Upload the code to your Arduino
Time for a test drive!
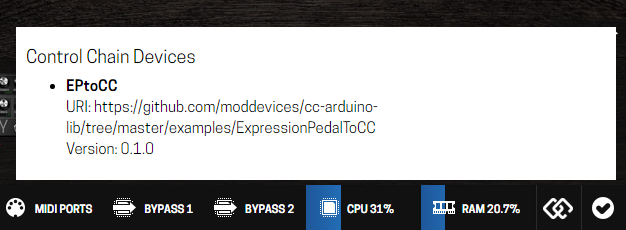
Connect the MOD Duo to the “main” Control Chain port on your new device
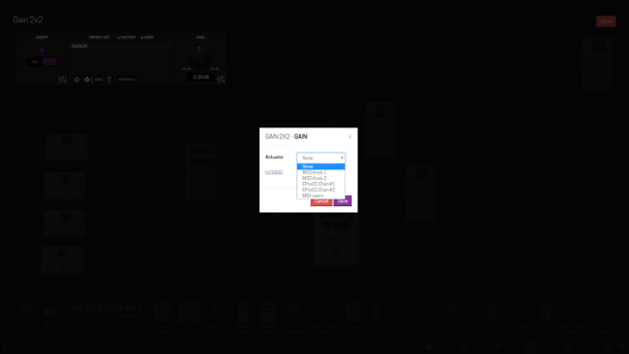
Connect your expression pedals and try them out with your MOD Duo!
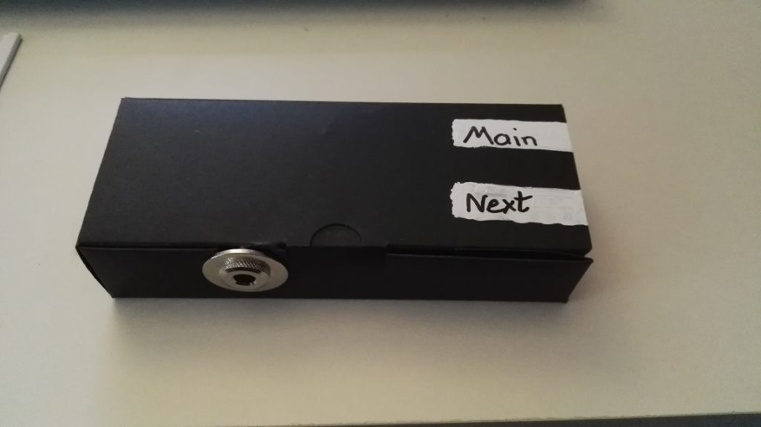
(Optional) Create an enclosure for (semi-)permanent installation, I used an old smartphone-box that I had laying around somewhere :)
The end result
You just built your own Control Chain device, and we hope with many more to come. We are looking forward to seeing what all you wonderful people come up with! Don’t hesitate to come and talk to us on the forums if you have any questions about Control Chain devices, the Arduino shield or our favourite musicians.
Note: This tutorial was originally published by Jesse Verhage at the Mod Devices blog
